
Washi tape is a popular Japanese decorative paper tape. It is available in many colors, patterns and sizes. It is also used as an art medium and craft material. There are two ways of making custom washi tape printing at home, by hand or with a printer. The following describes how to make a custom print on the washi tape by using your computer’s printer.
Step 1: Print out your design onto a sheet of paper in reverse (if you want to use the design on the back of the paper). If you want to cut it out after it is printed, make sure that your design does not have any white space around it or anything else that might be visible once it has been cut out from the tape.
Step 2: Transfer your design onto one side of the washi tape using any type of transfer paper or markers
Step 3: Cut out your design from the transfer paper and apply it to the other side of the washi tape using
What are the Best Branding & Marketing Tools?
Washi tape is a Japanese paper product that is used in various applications. It is used for decorative purposes and as a tool to create art with. Washi tape has been around for centuries and it has been widely used by artists, designers, and craftspeople. In recent years, it has become more popular among consumers who use it to decorate their homes or even as a fashion accessory. The best branding tools are those that can help you achieve your goals faster and better than any other tool out there. They should be easy to use without any complicated steps or pre-made templates. They should also have the ability to provide content according to the person’s needs and budget.
What is a Custom Washi Tape Printing Process?
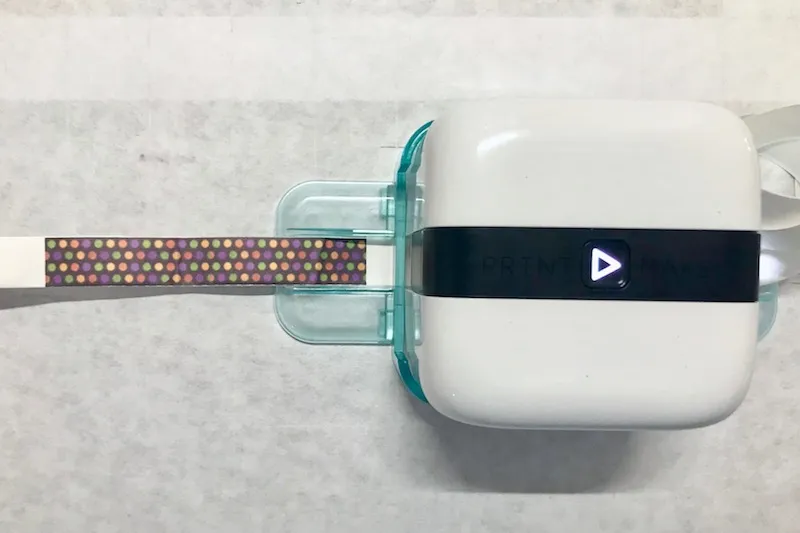
Washi tape is a type of paper tape that is used for decorating purposes. It is a Japanese invention that dates back to the Edo period (1603-1867). Washi tapes are usually made of paper or cloth and are available in a wide variety of colors.
Custom Washi Tapes: A custom washi tape printing process allows you to design your own washi tape with your own designs, images, and text. This can be done by uploading an image onto the website, which will then generate a quote or message on the fabric.
How to Order Your Own Custom Washi Tape Printing Today!
Want to order your own custom Washi Tape printing today? The process is simple and easy. Just follow these steps:
1. Choose a design from our gallery of pre-made designs
2. Choose a color from our color palette
3. Upload your own design or logo, or use the current design as a template
4. Add your text and customize it to your liking!
5. Submit your artwork for approval, then get started on production!
6. Once you’re done with production, we’ll send you a proof before sending out the order to make sure everything looks right
7. Order now and get creative with Washi Tape!
What is Custom Washi Tape and How Does it Work?
Custom washi tape is a type of decorative tape that can be used on surfaces such as walls, furniture, and other household items. It is made of a durable paper material and is printed with designs. Washi tape printing is the process of printing designs on washi tapes. This process uses an inkjet printer to transfer an image to the paper-like material. The inkjet printer then prints onto the washi tape in one direction only, usually from top to bottom or from left to right. The first use case for custom washi tape is decorating walls and other surfaces with patterns or images that are not available in any store.
What Types of Printing Do You Have to Start with in Order to Create Your Own Custom Washi Tape?
There are a number of ways to create your own custom washi tape. You can print them using a paper sheet, a textile or cloth sheet, or even onto fabric. using a stencil or template. The easiest way to print washi tape is to use a paper sheet. Print the design on your chosen paper first and then cut it out with scissors. Lay the printed sheet on top of an adhesive strip, such as those found in rolls of sticker-cutter sheets, and press it down onto a surface. Make sure that the design is centered on this backing and pull out any excess from around the edges before pressing it down again to make sure. There are many different types of printed washi tape that you can use for your projects. You have the option to choose from printed on paper sheets, printed on textile or cloth sheets, or even printed onto fabric.
How to Choose the Right Paper for Your Printer for Printing Custom Washi Tape
You might be wondering how to choose the right paper for your printer. One important thing to consider is the width of your paper. The width of a sheet of paper is referred to as its “print max” width. Some printers can print on any size of paper, but not all printers are capable of printing on different sized sheets. If you’re unsure what size you need, you’ll want to read our article “How to Choose the Right Paper for Your Printer.”
How Does the Printing Process Work for Creating Custom Washi Tapes?
For those who want to create their own custom washi tape, there is a process that needs to be followed. The general steps are as follows:
1. Choose the paper you want your washi tape to be printed on
2. Decide what design you want
3. Prepare your printer for printing
4. Print out your design onto the paper
5. Cut out the design from the paper with a ruler and cutting mat
Step by Step Tutorial of How to Print Your Own Custom Washi Tapes Using A Printer & Paper Sheet of your Choice
Washi tapes are a fun and trendy way to decorate your belongings with a personal touch. However, if you are not up to the task of cutting and folding the sheets yourself, there is an easier way. This step by step tutorial will help you out. Custom washi tape printing:
Step 1: Cut your paper sheet into two pieces that are equal in size.
Step 2: Place one piece of the paper on top of the other piece and secure it with tape.
Step 3: Print on the other side using your printer onto some white paper or cardstock.
Step 4: Fold in half over the printed design so that it’s hidden behind it and cut off any excess around it so that only what is printed shows through.
Step 5: Carefully peel off one layer from the top without ripping or tearing any part of the design you’ve just made on either side of it and stick it onto your item!
Click Here James Allen True Heart Vs Ideal Cut