Nowadays, the Arlo line-up security cameras have become tremendously/stupendously popular all around the globe owing to their incredible and extraordinary features and functionalities.
If you own an Arlo security camera and want to enable/disable (turn on/off) the email notifications, then follow the steps in this post given below.
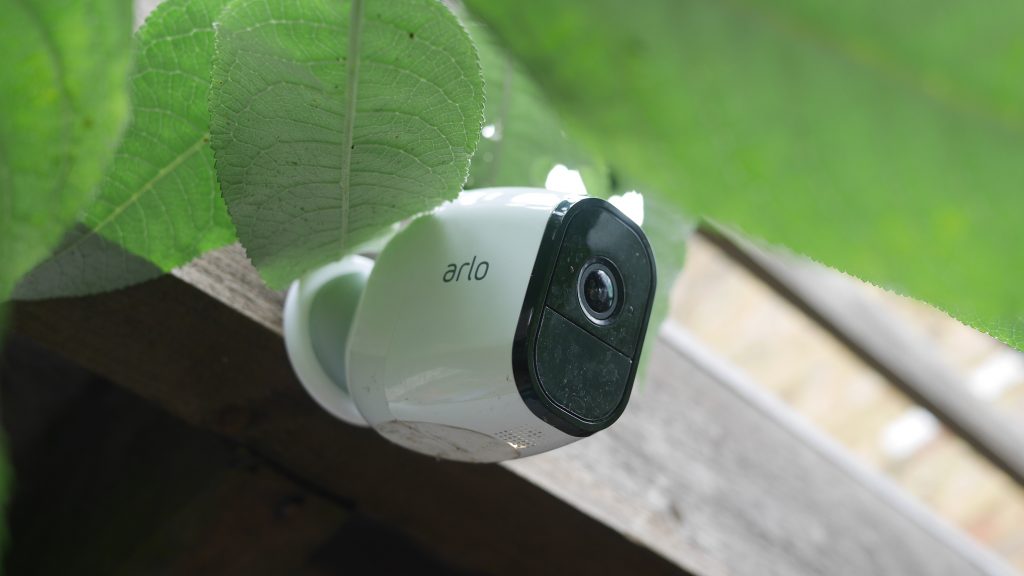
- With the advent/occurrence of the advance technology, the process of Arlo setup and installation of the internet/ WiFi-connected home security system is becoming simpler day by day.
- As a matter of fact, for many smart home security cameras, it means working with cables/wires to start their HD cameras.
- But, no need to worry at all. A sigh of relief has already come and it’s the line-up security cameras Arlo security cameras from Netgear.
- The refreshing news is that the range of the smart Arlo Pro cameras doesn’t require any kind of messy wires for the setup and installation process. Another good news is that they work for more than one month or two after charging once.
To know about the smart Arlo security cameras, dial a toll-free number 1-855-881-8818 and interact with our finest and certified tech support team.
The primary or original smart Arlo Pro home security system is a top-notch system already, and on the other hand, the Arlo Pro 2 has arrived with enhanced/boosted resolution and extra added features.
Easy Setup and Attractive Design
- Did you know the fact that with its old version the Arlo Pro 2 security camera shares a similar appearance? And moreover, it makes a connection to the same base station that can save your further investment in case you are going to add new cameras to an existing setup and configuration.
- Addition of Arlo devices is not complicated, and it generally works even the first time. You simply have to push the ‘sync’ button on the base station, and after that, you need to tap the button on your Arlo camera and after that, you ought to hold them for a couple few seconds together.
Your camera has been paired successfully. Congratulations!
The base station has a requirement of a wired Ethernet connection that is a little bit of a problem. And the 2.4GHz low-power Wi-Fi signal is there for your cameras to make sure that they are getting power.
- In addition, the base station of your Arlo Pro 2 camera also supports removable storage. Do you know what that it means? It means that means you can easily save all clips on a thumb or USB hard drive.
Our tech support team is always there to help you in solving your queries regarding Arlo cameras and to fix your Arlo camera login issues as well.
- The basic package of the Arlo Pro 2 camera has come with the base, between the range of two (2) and six (6) security cameras with a magnetic wall mount. The flat rubber foot on its bottom panel/part, your cameras can be placed easily on a table or a ledge.
- If you hold the Arlo Pro mounting accessories, then they should perform with the Arlo Pro 2 camera nicely without any issue.
- Now, another worth mentioning point to remember is that you can mount your Arlo 2 Pro camera anywhere in your house and even outside (door front or backyard) in a distant location of an electrical outlet.
- It is rated with IP65 that means it is dust and water-resistant and can operate in the range of -4 to 113 degrees Fahrenheit.
How can you turn Email Notifications enabled/disabled (ON/OFF)?
You need to execute the below-given steps for enabling or disabling your email notifications:
- First, you have to launch the Arlo app or you can also access the Arlo log in account via arlo.com login page.
- Second, you have to click on Mode and after that, Camera or Base Station Name option.
- Third, for a particular existing mode please click on the pencil icon and after that, click on the pencil icon under the section, called Rules section.
- Next, under the Alert section, named clear the checkbox next to Email Alerts. This will turn your enable/disable (turn on/off) email notifications.
- A worth noting point is that you can easily change your email address for receiving email alerts. For that, you need to click on the pencil icon, next to the Email Alerts checkbox.
- Finally, click on Save and apply the changes.
Fab! You have turned your email notifications ON/OFF successfully. Congratulations!