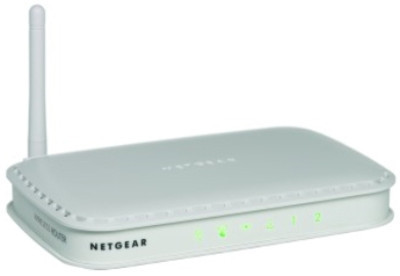
One of the default features of Netgear extenders is that their SSID is visible to the users. An SSID is necessary to establish a connection between your Netgear extender and router. By hiding the Netgear extender’s network name, you can prevent others from connecting to your extender’s network by hiding its SSID. If you want to hide or unhide the SSID of your extender, then go through this article.
What is the meaning of SSID?
SSID is the network name of your Netgear extender which stands for “Service Set Identifier”. It helps in distinguishing your Netgear extender from all the neighboring networks. You can connect your WiFi devices to your extender via its SSID, which can be changed during Netgear Genie setup.
Steps to Hide Netgear Extender SSID
Hiding the Netgear extender SSID is a good option from the security point of view. If you hide your extender’s network name, then unauthorized users won’t be able to hack into your wireless network. Follow the below-mentioned steps to hide the SSID on your Netgear extender:
-
Power up your Netgear WiFi range extender after plugging it into a working wall socket.
-
Allow the LED lights on your extender to become stable.
-
Connect the Netgear extender and router using an Ethernet cable.
-
Turn on your PC or laptop.
-
Launch an internet browser of your choice. Update it if it has any pending updates.
-
Go to the address bar and type www.mywifiext.net.
-
Log in to the extender using its default username and password .
-
The Netgear Genie setup wizard will appear.
Note: If your extender is using a new Genie UI, you will be asked to provide the email and password. Enter the email and password that you used during the initial Netgear extender setup.
-
To hide the extender’s SSID, go to WiFi Settings.
-
Uncheck the “Broadcast this Network name (SSID)” for both 2.4GHz and 5GHz.
-
Click on the Save button to save the settings.
Once you save the settings, your Netgear extender SSID will not be visible to others. Sometimes, you might be unable to connect to the internet due to the invisibility of its SSID on your WiFi device. Thus, you have to unhide the Netgear extender’s SSID.
Steps to Unhide the SSID of Your Netgear Extender
-
Open a web browser on your laptop or PC.
-
Log in to your Netgear extender via mywifiext.net login page.
-
Provide the default credentials of your Netgear extender to log in to the extender.
-
Click on the Log In button and wait for the Netgear Genie setup wizard to appear.
-
Click on the WiFi Settings.
-
Check the ‘Broadcast this Network name’ for both 2.4GHz and 5GHz.
-
Click on the Save button.
-
Now, your Netgear extender’s SSID is visible on all the WiFi devices.
This was all about how to hide or unhide SSID on the Netgear extender. But if you face problems while hiding or unhiding the Netgear extender’s SSID, keep the following points in mind:
-
Make sure that you have performed Netgear extender setup properly.
-
There should be a strong connection between the Netgear extender and the router. If you have connected them via wireless mode, connect them using an Ethernet cable. Make sure that the Ethernet cable used to connect the Netgear extender and router does not have any cut.
-
Enter the correct web address of your Netgear extender and fill in the correct default login credentials to access its login page.
-
Make sure that you have a super-fast internet connection.
-
Always use the updated version of the web browser, and do not forget to clear its browsing history, cookies, and cache to avoid any hassle.
-
Update the firmware of your Netgear extender to its latest version if it is outdated.
Conclusion
You can hide or unhide the Netgear extender SSID as per your choice with the this guide. We hope that you found this article useful. If yes, then leave a word of appreciation in the comment section.
