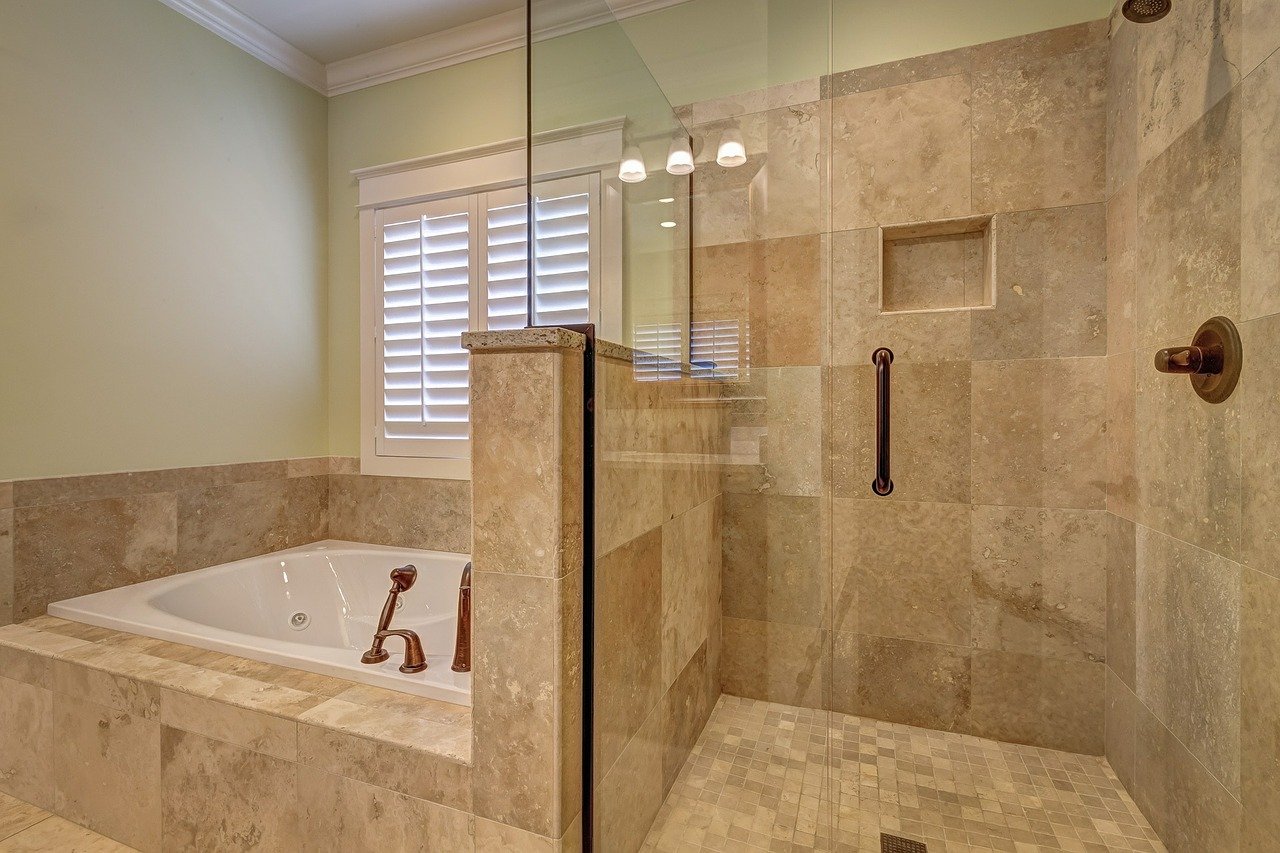
When you come out of the bathroom, are the walls and other surfaces of the bathroom covered with a vapour barrier? Over time, this moisture and humidity can cause paint to start to form. Cabinets and doors can be left open; You can reduce this moisture in your bathroom by installing a fan.
Step 1: Mark Fan Location.
Decide where your new exhaust fan is. Many exhaust fan models are twice as versatile as ceiling lights, but you do not need to remove your existing ceiling light if you prefer. Your fan will most likely be adjacent to the current device as it will need to draw power from the device’s wiring.
If you are not sure where your ceilings are, use a pencil scanner to mark their location. Supporting the weight of the fan, the exhaust fan unit will be anchored between the two rods. Use your pencil to track the size of the fan unit on the ceiling. Some models can be packaged with a pattern for the unit’s outline symbol.
Step 2: Cut Into the Ceiling
Then you need to make a hole in the ceiling where the fan will be. Turn off the bathroom on the main electrical panel before you start using it. If you are not sure which circuit is lit on which circuit, you may need to turn off the entire house for safety. You do not want to make blind cuts to the ceiling without knowing whether or not there are electrical wiring or other important structures.
Use an exercise to make holes, starting at each corner of the designated outline; Then use a drywall saw to cut holes for the unit on the ceiling.
Step 3: Install Ventilation Duct
The air and moisture to be removed from the fan need to be vented to the outside. You will install an air duct on the outside wall that connects the opening to the fan and the fan. Exhaust fans are usually roofed. It transmits through a hole or block. Depending on the location of your bathroom, this may not always be the case. Cutting a hole in the outer wall, especially for fan exhaust, is a direct way to dissipate outside air and moisture.
The outlet on the outlet fan is measured with a tape. If your fan does not have all the accessories, you will need to purchase the right size aluminium hose to show your ventilation. You need to open a blocked hole in the outer wall that you will cut. You need these dimensions to know the size. Usually, the hose is 4 inches in diameter. Accurate measurements can also be specified in the manufacturer’s instructions.
Look at the hole in the ceiling and find the nearest outer wall. Measure your walls. Push the hose into the ceiling until the other end touches the outside wall. Use the flashlight to help with visibility. Go outside to the other side of the bathroom wall, where the floor is the same as the ceiling. Insert 3 inches vertically. Mark the location with a pencil. This is where you cut the wall. Holes can be made in a variety of ways. The mark can be used as the centre of the hole. Then combine the exercises with an interactive saw. Or you can use a 4-inch hole to create an opening.
Step 4: Secure Fan Unit in Place
Push all the wires into the hole. Then, following the instructions given by the fan, attach the unit to the ceiling harness using the supplied hardware and screwdriver. Snap to the cover. Now you know how to install an exhaust fan. It can easily remove moisture and air from your bathroom with the flip of a switch.