So, your Netgear WiFi range extender is properly set up. The next step is to connect all your WiFi-enabled devices to the extended SSID, i.e. Netgear_ext. However, a lot of users can’t connect to the Netgear_ext network. If you are also one of them, you have found the right post.
This troubleshooting guide will walk you through some surefire tips to connect your devices to the Netgear extender’s SSID without any issue. Scroll down to read more.
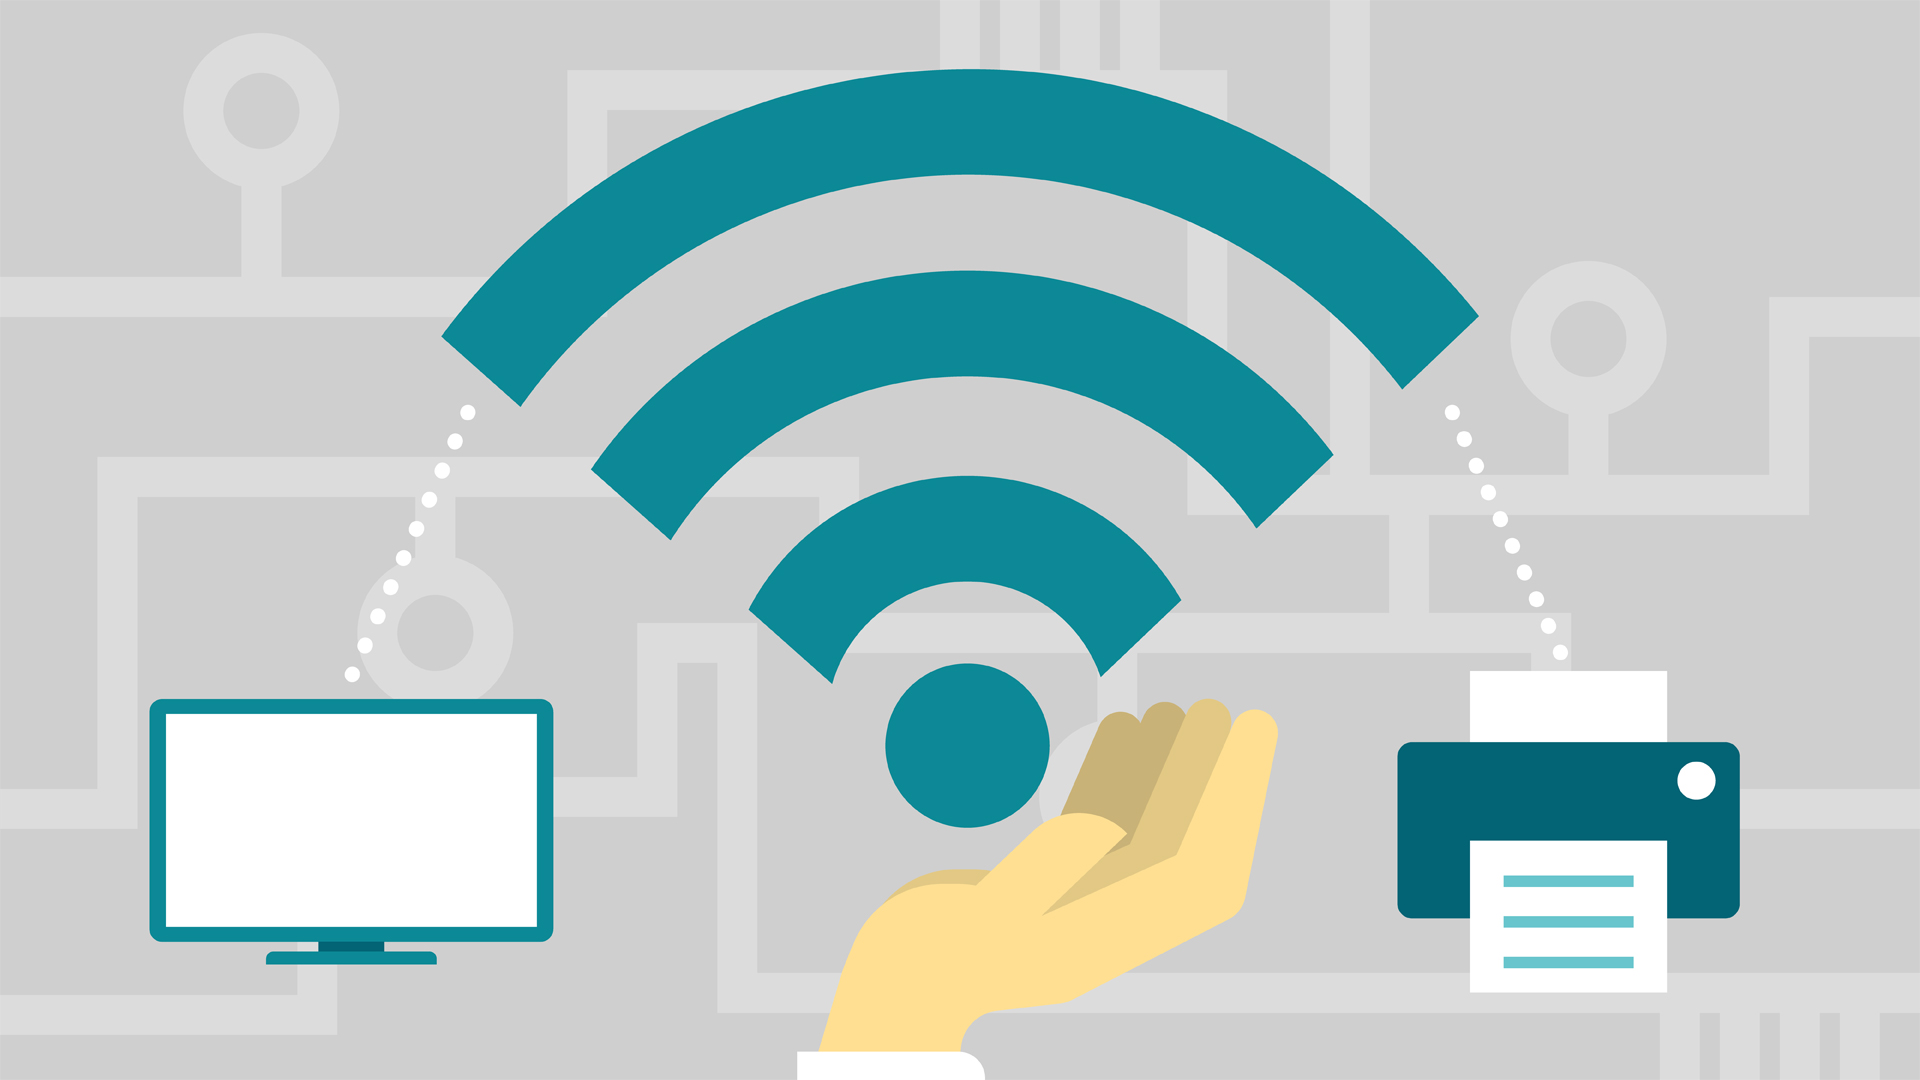
Fixed: Can’t Connect to Netgear_Ext
-
Place Your Netgear Extender Properly
Where is your Netgear range extender placed? Is it kept nearby metal objects? If yes, you will not be able to connect to the Netgear_ext SSID. Metal objects such as aluminum studs and metal doors may block the WiFi signals coming from your extender. As a result, your devices can’t connect to the network.
Apart from metal objects, electronic gadgets such as refrigerators, Bluetooth speakers, cordless phones, baby monitors, electronic toys, etc. and reflexive surfaces like mirrors and glasses can create interference in the path of your extender’s WiFi signals. So, be sure to place your Netgear WiFi range extender away from such devices.
What’s more, remember to place your Netgear extender near to the home router so that it can receive signals from the router in a hassle-free manner.
-
Check the Wired Connections
Another thing you need to check is the cable connections of your Netgear WiFi range extender. All cables should be properly connected to your extender. There should not be any loose cable connection.
Furthermore, the cable you employ must be damaged-free. It doesn’t incorporate any type of cuts.
-
Update the Extender’s Firmware
An outdated firmware version may also prevent your WiFi devices from connecting to the Netgear_Ext SSID. So, check your extender’s firmware version and update it if outdated. Here’s how to do so:
- Plug your Netgear wireless range extender into a power outlet.
- Connect it to your home router via an Ethernet cable.
- Launch your favorite web browser on a Windows or Mac OS device.
- Use keyboard and type www.mywifiext.net in the address bar.
- Afterward, click on the Go button or press the Enter key.
- Log in to your extender using the default admin ID and security key.
- Once you click on the Log In button, the Netgear extender’s dashboard comes into view.
- Now, head over to the Firmware Update section.
- In the event that you find any new firmware version available for your extender, download and install that right away.
Once done, try connecting your devices to the Netgear_Ext SSID. Just in case you are now able to connect to the network, congrats, the issue has been solved for you. If not, move to the next troubleshooting tip mentioned below.
-
Set up Your Extender Properly
Partial or improper Netgear extender setup may also lead you to the network issues. Therefore, be certain that your extender has been properly set up and configured. Below-given are the instructions to set up your Netgear WiFi extender in the right way:
- Connect one end of the power adapter to the extender while another to the wall outlet.
- After that, establish a wired connection between your extender and the router.
- Go to mywifiext web page through an internet browser.
- Click on the New Extender Setup button.
- Choose the WiFi network you want to extend.
- Hit on the Continue button.
- Set up security settings for your extender’s network.
- At last, complete the setup process by clicking on the Finish button.
That’s how you can set up and install your Netgear WiFi range extender in a proper manner.
So, our list of the best troubleshooting ways to get rid of the ‘can’t connect to Netgear_Ext’ issue ends here. In case you know any other way to get this issue fixed, feel free to share that with your fellow readers as well via the comments section.