
The flexibility and versatility of WordPress have made it one of the most popular platforms for web development and a number of owners are looking to migrate from other formats like HTML to WordPress theme to take advantage of these qualities. One of the reasons because of which many interfaces do not switch platforms is the fear of losing the content of the existing website. A couple of methods to convert HTML to WordPress website are being presented for the benefit of owners who wish to move their interface to the open source framework.
Manual Conversion Through Creation Of A Custom Theme
The process of conversion can be done manually but it will require some technical proficiency as the procedure involves altering the code of the existing website. Using a code editor like Notepad++ or TextWrangler for accessing the code of the HTML website will be helpful.
Creation Of A Theme Folder
A theme folder must be created and saved in your system after which the following files should be created using the code editor :
● style.css
● index.php
● header.php
● sidebar.php
● footer.php
Copying CSS Of Existing Site To WordPress Style Sheet
Many owners do not want to change the appearance of their website so that the users do not detect the alteration and for the purpose, the copying of the CSS of the old site has to be done in the “style.css” file.
1. /*
2. Theme Name: My Theme
3. Theme URI: http://wordpress.org/themes/mytheme
4. Author: my name
5. Author URI: http://mysite.com/
6. Description: My theme for conversion.
7. Version: 1.0
8. License: GNU General Public License v2
9. License URI: http://gnu.org/licenses
10. Tags:
11. Text Domain: mytheme
12.
13. */
Paste this piece of code in the style.css file and take care to replace the generic terms in the program with suitable names in the following manner :
Theme name: Name for the new theme can be any term of your choice.
Theme URI: The address of your website can be placed here.
Author: Your name should be inserted in this field.
Author URI: you can insert the address of your homepage here.
The description is optional and if you wish, a small account of the nature of your theme can be placed in this field. The License, License URI and Tags fields can be left vacant as they are most needed by professional WordPress developers who upload their creations to the theme directory of the platform from where any user can download them.
Splitting Of The Existing HTML
WordPress relies on PHP for extracting information from the database and to fashion a code that can be used by the framework, the existing HTML code of the old website can be split and saved into different PHP files. It can be explained in a better manner with the help of an example. A typical HTML code for a standard web page is given below.
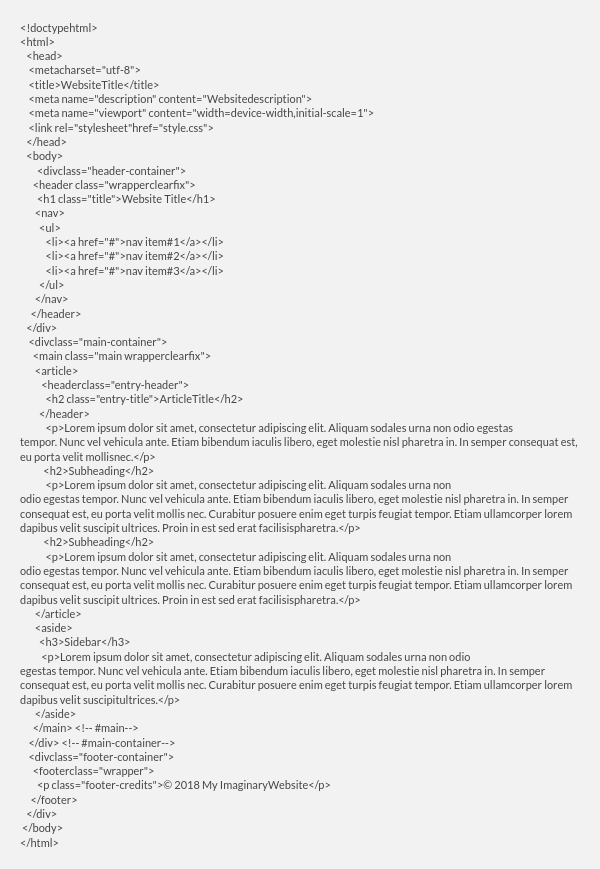
Access the index.html file of your old website and you will be looking at a similar code. Now taking this above code as the reference, separate the code for saving it into the different files that we had created right at the beginning of the conversion process of HTML to WordPress theme.
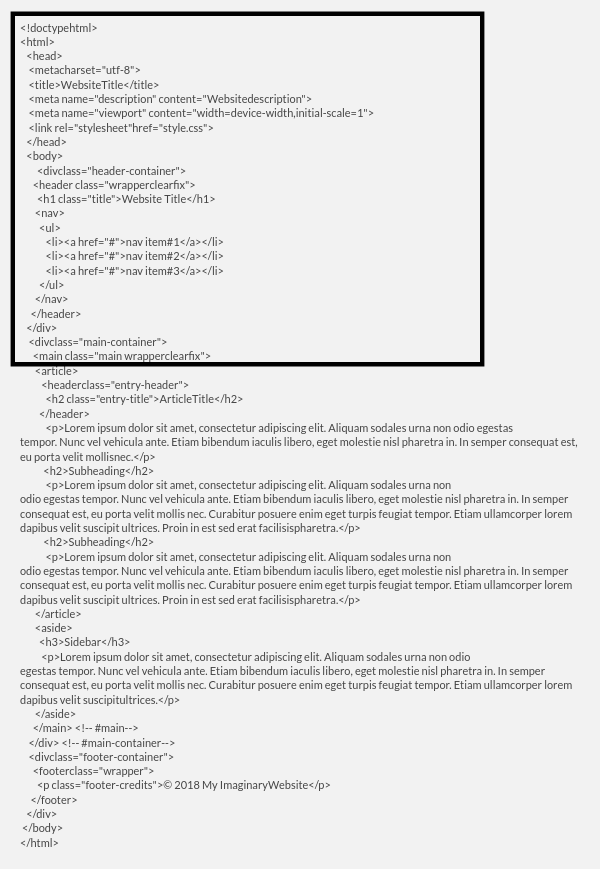
Code for header.php
The first separated code will go into the header.php file and the enclosed portion in the image below can be used as the reference for identifying the part of code that goes into this file.
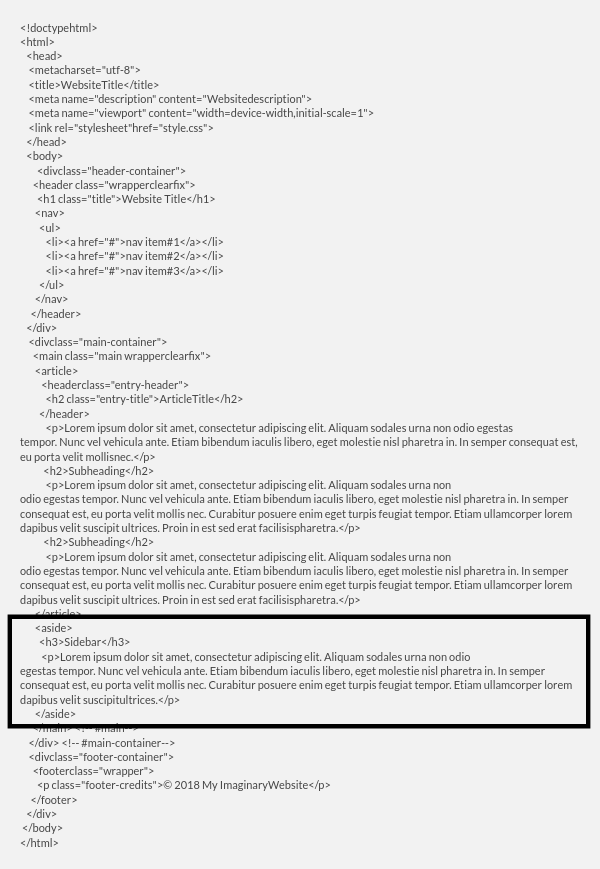
Code for sidebar.php
Take a look at the image below to understand what part must be cut and pasted to the sidebar.php file.
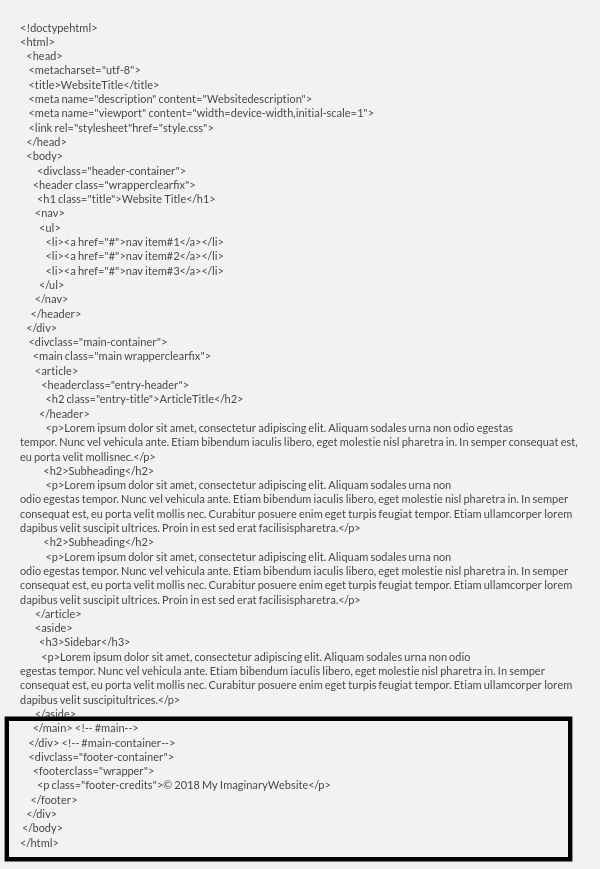
Code for footer.php
Now the code needed to be inserted in the footer.php file can be separated from the HTML code by taking the below image as a guide for the purpose.
Extra Modifications Necessary For Conversion
Replace the line of code highlighted in the above image with this :
<link rel=”stylesheet” href=”<?php echo get_template_directory_uri(); ?>/style.css”
type=”text/css” media=”all” />
Code for index.php
The following lines of code must be saved to the index.php file :
1. <?php get_header(); ?>
2.
3. <?php get_sidebar(); ?>
4. <?php get_footer(); ?>
Insert the following program in the second line which is essential for the displaying of the content on the website.
<?php while ( have_posts() ) : the_post(); ?>
<article class=”<?php post_class(); ?>” id=”post-<?php the_ID(); ?>”>
<h2 class=”entry-title”><?php the_title(); ?></h2>
<?php if ( !is_page() ):?>
<section class=”entry-meta”>
<p>Posted on <?php the_date();?> by <?php the_author();?></p>
</section>
<?php endif; ?>
<section class=”entry-content”>
<?php the_content(); ?>
</section>
<section class=”entry-meta”><?php if ( count( get_the_category() ) ) : ?>
<span class=”category-links”>
Posted under: <?php echo get_the_category_list( ‘, ‘ ); ?>
</span>
<?php endif; ?></section>
</article>
<?php endwhile; ?>
Ensure that you have saved all the changes made to each and every file and zip the theme folder. Use the path Appearance> Themes in the admin section of your WordPress dashboard and upload the folder in the Upload Theme section. Install and activate to complete the process of conversion.
Alternative To Manual Conversion Method
The process can also be conducted using a pre-existing theme and a suitable one that fits in with the nature of your interface and fulfills all requirements must be selected. A child theme can be created and placed on top of the original one to achieve the motive of conversion. A child theme consists of a different set of files than the original theme and is present over the original one and the website uses a version of the file that is present in it instead of the one residing in the original theme.
All the content of the old website can be imported with the help of plugins that are available once a suitable theme has been selected and activated.
Conclusion
Any person having knowledge about HTML, CSS, and PHP can use the above method for converting any web interface from HTML to WordPress theme and benefit from the various useful features of the platform. Amateurs who are technically deficient can always approach experts and if anyone needs professional service, a call to +1.415.914.1710 can be placed to request a quote.