Is your internet connection running at snail’s pace even after performing the Netgear WiFi router setup process completely and properly? If your answer is yes, then culprit can be anything from signal-interference caused by unknown WiFi devices to congested or overloaded data lines. On the off chance if all the internet lanes are clear and your Netgear Nighthawk router is up to snuff, then resetting it back to factory default values would be an ultimate solution.
Steps to Reset Netgear Nighthawk Router
Below are the easy step-by-step instructions that will be your guide to reset Netgear router in haste. Scroll down to read more!
- Provide a continuous power supply to your Netgear router during the reset process.
- Thereafter, locate the Netgear router reset hole and push it gently using a pin or a paper clip.
- Hold the reset hole for a couple of seconds and release it.
Kudos! You have successfully reset Netgear router back to the default factory settings.
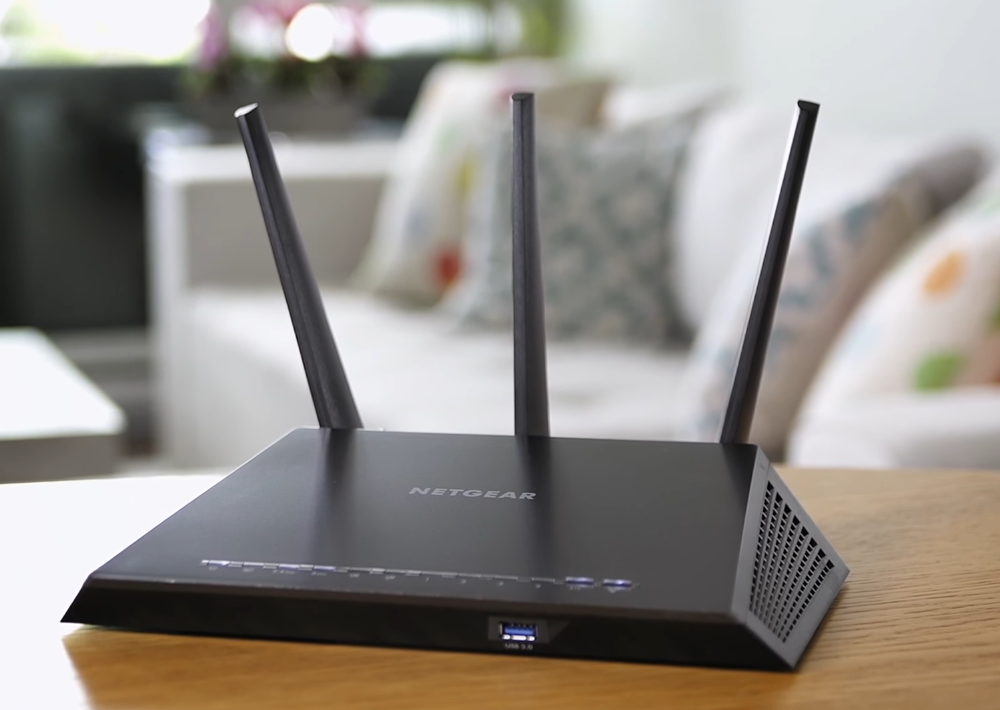
Steps to Setup Netgear Router
Follow the steps listed below to execute the Netgear Nighthawk setup process:
- Plug in your Netgear Nighthawk router into a working wall outlet and near to your existing modem or router.
- Once done, connect your Netgear Nighthawk router and your existing router/ modem using an Ethernet cable.
- Now, turn on a computer or laptop and connect it to your router’s WiFi. It is recommended to use an up-to-date computer or laptop in order to avoid setup-related issues.
- Open an internet browser of your choice.
- Hover your mouse cursor over the browser’s address bar. In order to avoid Nighthawk router login issue, it is recommended to wipe out all the junk files and browsing history from the internet browser.
- Enter routerlogin.net or the default Netgear router IP address without typos in the URL bar.
- Once done, press the Enter key.
- Login to Nighthawk router by enter the default username and password of the device into the provided fields of the displayed page. If you have changed the default username and password, it is recommended to use them.
- As soon as you get redirected to the Netgear Genie setup wizard, follow the instructions and complete the Nighthawk router setup process with ease.
If this process doesn’t help you out to setup Netgear router in a hassle-free way, don’t sweat over it. Use the WPS method to complete the Netgear Nighthawk router setup process. But, ensure that the Netgear Nighthawk router model you have consists of the WPS button. Besides, the existing router or modem must be WPS capable too.
Steps to Setup Netgear Router Using the WPS Method
- Hope your Netgear Nighthawk router and your existing device is properly plugged in? If yes, then locate the WPS button on your Netgear Nighthawk router.
- Once found, push it and wait till the WPS LED gets green and stable.
- Thereafter, locate the WPS button on your existing router or modem and once found, push it.
- The WPS LED on your existing device will start blinking.
- Congrats! You have successfully completed the Nighthawk router setup process using the WPS method.
On the off chance if your Netgear Nighthawk router or your existing device is not WPS capable and you don’t want to go with the manual method to configure your device, then we have one more easy method for you. Yes, you read it right! This method is more than easy than the WPS method. Want to know what is that method? The Netgear router app ! Download and install it on your PC, laptop or mobile device and make the Netgear Nighthawk setup process a piece of cake. Netgear router app works on both Android and iOS devices.
Still can’t get the most out of your Netgear Nighthawk router? Well, in that case. contact our competent technical experts now.