The days are gone where men pounded on nails manually. Electric nail guns are available to do the work. With such an effective tool, you can easily do numerous home repairs and upgrades. Trag nails are available that allow you to quickly fire 18-gage brads for sealing. There are also cabled, cordless, and by trimming the doors and windows you are allowed to use the same.
What’s a Brad Nailer
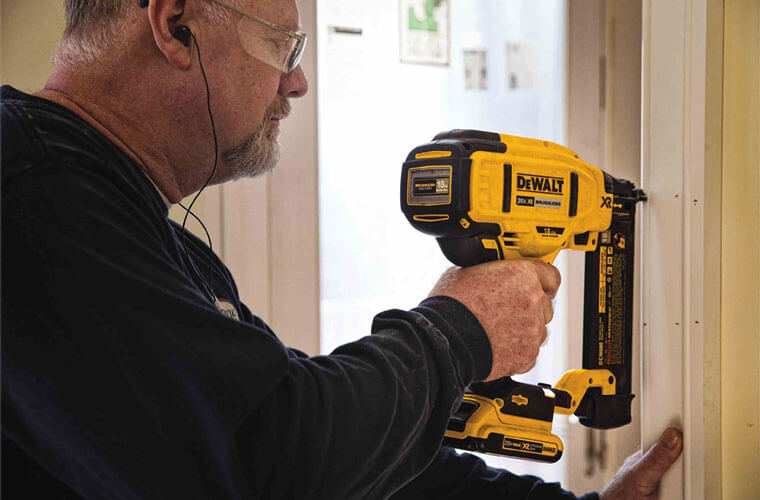
A brad nailer is a machine that fires 18 gauge brad nailers (no staples) with electric power.
This device loads an air compression chamber with an electric charge, either cordless or corded. The power which shots the brad comes from discharging the chamber.
Brads are 18 gauge, and can be as long as 2.’ These instruments range between $50 and $120, although corded versions are cheaper.
What It’s for
It is not for separation tacking, plastic sheeting or thin material like veneer. Using a stapler / brad tool for that. Such two-pronged staples ignite, which are important to prevent ultra-thin materials from burning them apart. It is not built to frame a house or nail a 2×4. You require a pneumatic framing staples that can shoot 1 1/2 “to 31/2” nails either from a stick or a bobbling folder.
All brad nailers are going to be paying accordingly. But here are some common features for all the Nailers:
Brad Length
Gauge, or brad thickness, is vitally important. Why do 16 to 18-gage brade differentiates? So. In reality, the difference of a whole machine.
Continuous Strips
Carefully treat the brad stripe so it doesn’t fall off. Yeah, the strip doesn’t really matter; if you can, you should plan brief strips as can be seen here with an office stapler. But if the stripe stays unbroken, you can guarantee smoother brad feeding operations.
Push Forward
In general, the brad-streak should be slid to the direction of the nailer’s shooting edge.
Slide Magazine Shut With Care
This is easy to close down the publication with vigor. And yes, you must press it up to lock it in with some intensity. However, the brad strip falls apart and jams with too much energy, particularly non-continuous strips.
Position and Depth Adjustment
Position on the Workpiece
First, taking the “muscle” end of Nailer’s workpiece contact point into consideration. When you move the nailer against the workpiece, this touch point deprimes. For safety purposes, if the touch point is not deprimed, the gun can not fire.
Note the brad is shot slightly apart from the point of contact. In the picture below, you will note that the brad is fired about 1/4 “higher than its total missed touch point.
Perfect Depth
The required depth to drive the brads will differ between project and project. In some situations, you would like the brad’s head flush with the surface of the wood. For a more polished appearance the head should be slightly recessed in some. Bear in mind the following tips when testing the setup at depth:
1. This is undesirable to see the head protruding. If you want to pound the brad in the rest of the way in, you are going to turn the brad over. Note, this is a thin wire and not a magnet at the end. Not just that, you are going to ding that piece of work. Evite at all costs.
2. Everything you have to do is suck it in and add a wooden filler if the item is wood and you want a natural finish. You can see the polished head of the nail and you know it isn’t too far.
3. Surface level is often best. The heads of the brad are smooth and slight. The brad heads will also firmly keep the substance in place.
What you have to do is sink it in and add a wooden filler if the material is wood and you want a natural finish.