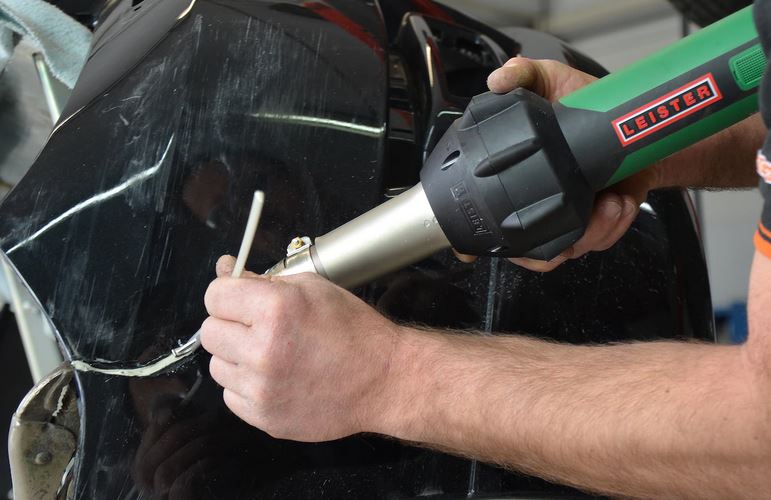
In the world of DIY projects and repairs, plastic welding using a heat gun has emerged as a versatile and efficient technique. Whether you’re fixing a broken bumper, creating custom plastic components, or joining different plastic materials together, heat gun plastic welding is a skill worth mastering. In this comprehensive guide, we’ll explore the essentials of plastic welding, the tools you’ll need, and the step-by-step process to achieve professional-looking results.
Understanding Plastic Welding
Plastic welding is a method that involves melting and fusing two pieces of plastic to create a strong and seamless bond. It’s crucial to use the right type of plastic for welding, as different plastics have varying melting points and properties. Common plastics suitable for welding include polypropylene, polyethylene, PVC, and ABS.
Essential Tools
- Heat Gun: The central tool for plastic welding is the heat gun. Choose a high-quality heat gun with adjustable temperature settings to accommodate different types of plastics. A heat gun with a variable temperature control allows you to tailor the heat to the specific requirements of your project. You can find the best heat gun supplies for your purposes at heatgun.com.
- Plastic Welding Rods: Welding rods, also known as filler rods, are essential for reinforcing the weld and adding strength to the joint. Match the welding rod material to the base plastic for optimal results. Common welding rod materials include polyethylene, polypropylene, and PVC.
- Protective Gear: Safety should be a top priority. Wear heat-resistant gloves to protect your hands from the hot surfaces, and safety glasses to shield your eyes from potential splatters or fumes.
- Surface Preparation Tools: Before starting the welding process, make sure the plastic surfaces are clean and free of contaminants. Sandpaper, cleaning solvents, and a wire brush can be useful for preparing the surfaces.
The Plastic Welding Process
- Surface Preparation: Begin by cleaning the surfaces to be welded thoroughly. Remove any dirt, grease, or paint that might hinder the welding process. Use sandpaper to roughen the surfaces slightly, providing better adhesion for the melted plastic.
- Setting up the Heat Gun: Adjust the heat gun to the appropriate temperature for the plastic you’re working with. Start with a lower temperature and increase it gradually to avoidoverheating and damaging the plastic.
- Tacking the Pieces: Hold the heat gun at a slight angle and begin by “tacking” the pieces together. This involves lightly melting the surfaces to create a temporary bond. Ensure the pieces are aligned correctly before proceeding.
- Welding the Joint: Once the pieces are tacked, focus on welding the joint. Apply heat to the welding rod and the plastic surfaces simultaneously, moving the heat gun in a back-and-forth motion. As the plastic softens, press the welding rod into the joint, allowing the melted plastic to envelop it.
- Smoothing and Finishing: After the welding is complete, use the heat gun to smooth the welded area and remove any imperfections. Take care not to overheat the plastic, as this can lead to deformation.
Conclusion
Mastering the art of plastic welding with a heat gun opens up a world of possibilities for DIY enthusiasts and professionals alike. With the right tools, proper technique, and attention to safety, you can achieve strong and durable welds for a variety of plastic applications. So, don your safety gear, fire up that heat gun, and start welding your way to plastic perfection.
