Screen Printing is a process carried from ages and as any tees or products that we see with patterns result from screen printing. Begun from Woodlock printing to printing press to today’s screen printing, it has seen a lot of developments since ages. Screen Printing is when a mesh is used to transfer ink onto a substrate (a material which provides the surface something is deposited or inscribed.) It leaves the area that is made impermeable to the ink by a blocking stencil. The most commonly printed surfaces are fabric and paper. It is possible to print on wood, metal, plastic, and glass with specialized inks. It is also called ‘silk-screening’ or ‘silk screen printing’ that uses inks that lay on top of the shit rather than soaking in the Custom T-Shirts.
It is used to produce a vast bulk amount of products. Usually, screen printing has minimalistic Complex Designs or tones; sometimes, the designs are made of one shade or several. For multicolor designs, the colors must be applied to individual layers, using separate stencils for each ink.
Screen printing is widely preferred because it makes the dark fabrics look good by producing vivid colors. The ink lies in layers on the fabric or paper’s surface, which gives it a bold but tangible look. It is also preferred because the printer can produce the same design multiple times, as the same stencil can be used to replicate the designs. This is why screen printing becomes an efficient technique for making bulk orders of custom clothing for sports couture or uniforms.
It is always better if an experienced person carries out professional equipment, as they can create intricate designs, and they can handle all the detailed and heavy work with ease.
So How is it done?
Screen Printing is not something everyone can do; still, we have broken down the in-depth process that is involved in its working:
Step 1: The design that is supposed to be printed on the fabric is printed out on a transparent acetate film used to create a stencil or screen. The screen is then secured with a wooden frame and then start to frame it. We then ready the emulsion to prevent ink from coming through once you have chosen the mesh screen.
Step 2: Use the squeegee and spread the emulsion on both sides of the screen. The emulsion will seep through the other side while spreading. Make sure that your screen is as even as possible. You can check by holding it up to the light to check if any area is left.
Step 3: Then, carefully place the transparent acetate film with the design onto the emulsion coated mesh screen. Place it under a very bright light so that the light-reactive emulsion can harden and develop. This can get more complicated when multiple colors in the picture because every color will require a separate screen. This is why it’s a high precision process requiring highly skilled printers because each stencil needs to be designed for each color, and then precisely line them up to ensure the final design matches the original.
Step 4: The screen should be exposed under the light for some time before the emulsion is hardened on any areas not covered by the design. This is done to leave an exact imprint of the design on the screen as the emulsion in liquid form would have rinsed away. Once hardened, the stencil is ready to be used for the printer.
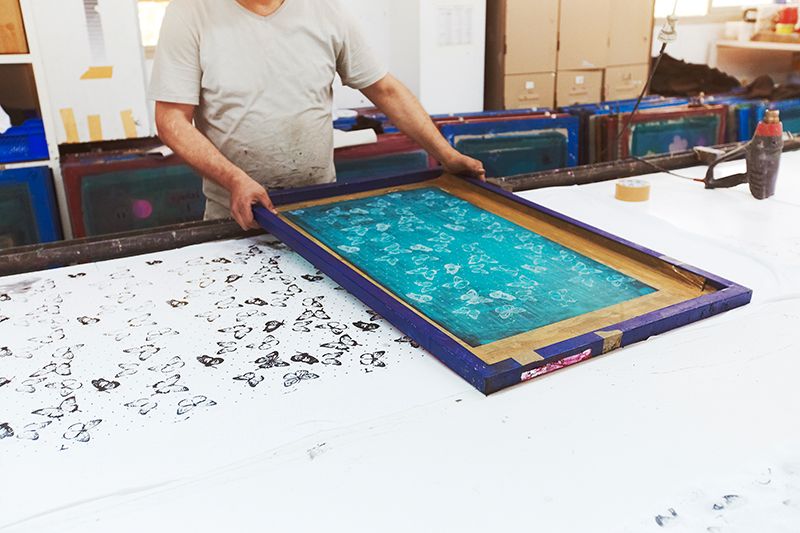
Step 5: The fabric that is ready to be printed is laid down flat on the printing press, and the screen is placed carefully on top in the desired position, ready to be printed.
Step 6: Now, the screen is lowered down onto the printing board, and the piece of cloth. Then a thick layer of ink is applied to the top of the screen, and a squeegee is used to drag the ink on the whole screen, thus covering the full stencil. Now the ink is pressed from the stencil’s open areas and transfers on to the silk underneath, leaving the ink pattern. This can be done with the same stencil to produce a bulk of products.
Step 7: The final product after this can be checked, and then all the traces of emulsion residue can be washed off.